
The Creamiest Cast Iron Mac and Cheese
This cast iron mac and cheese is ultra creamy, loaded with sauce, and finished in the oven for that irresistible golden crunch. The garlicky topping makes it extra addictive—you’ll be going back for seconds (and probably thirds).
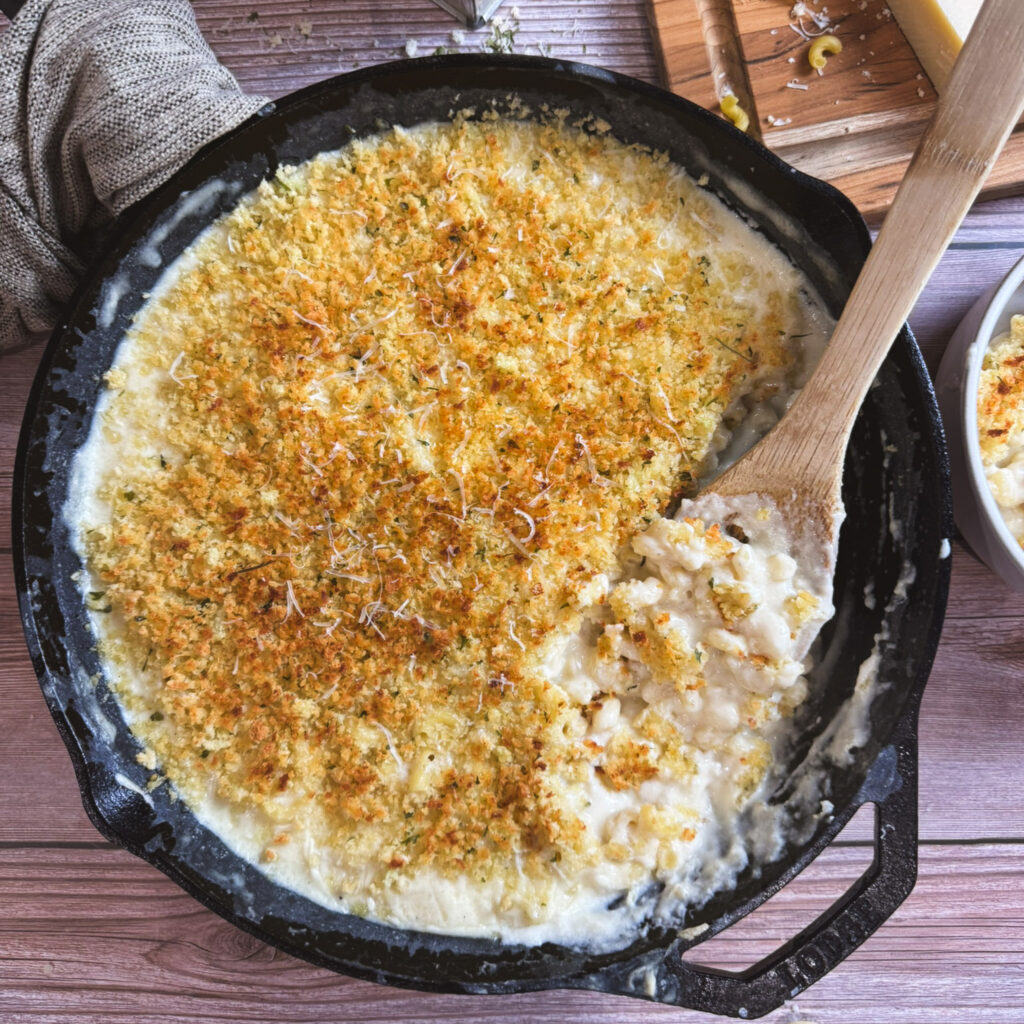
There are nights when only a bubbling cast iron of mac and cheese will do—the creamy, saucy kind that feels like a hug in a skillet. This cast iron version is everything you want and then some. The cheese sauce doesn’t hold back—it’s rich, velvety, and clings to every bite of pasta so you never get a dry forkful. Then, just when you think it can’t get any better, it goes into the oven to develop a golden, garlicky topping that gets perfectly crispy and just a little addictive. This cast iron mac and cheese is my go-to when I want all the comfort of classic stovetop mac, but with a little extra magic from the oven.
What you’ll love about this cast iron Mac and cheese:

A few notes about the ingredients

How to make cast iron Mac n cheese
the details are quite simple!

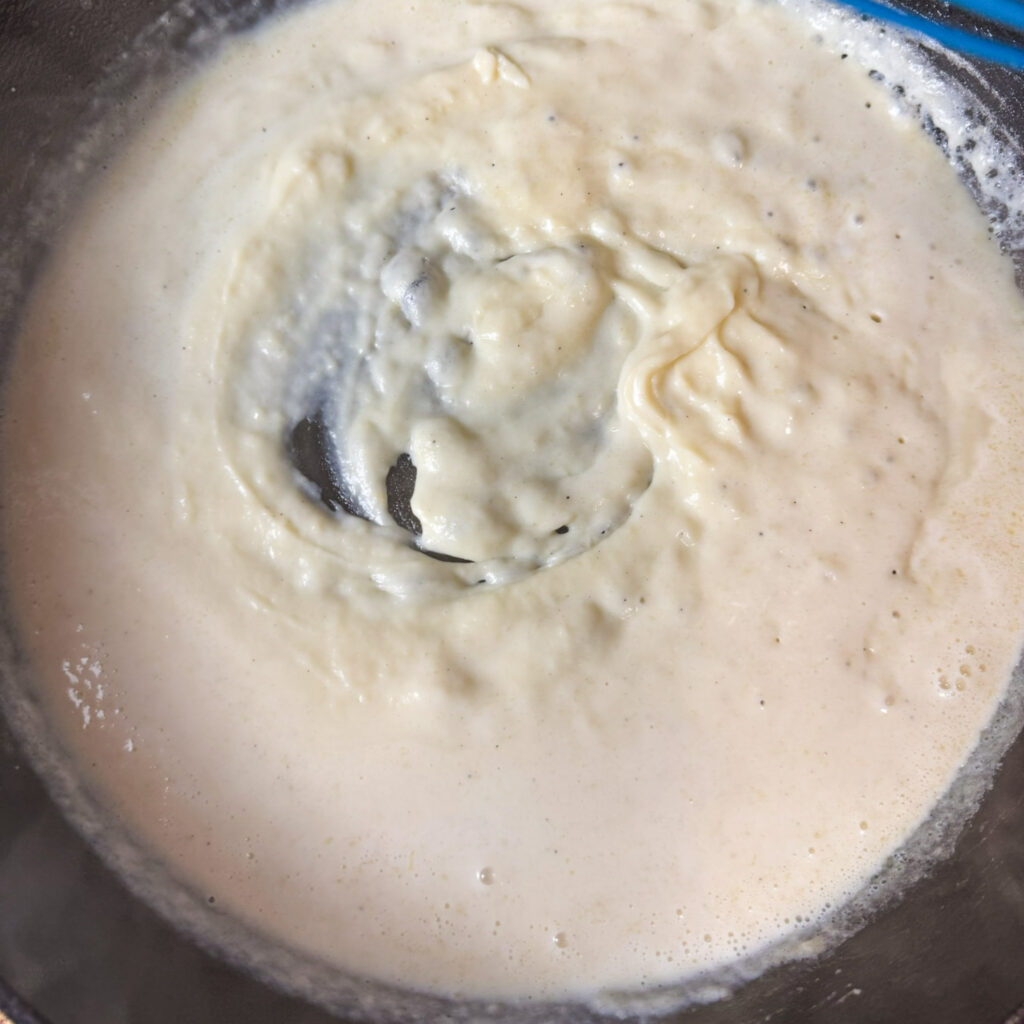

You’ll start by melting butter in your cast iron skillet until it’s smooth and just starting to bubble, then whisk in flour to form a rich, golden roux. Let it cook for a couple of minutes to get that slightly nutty aroma before slowly pouring in the milk. Adding it in stages keeps the sauce silky and lump-free — your base for the dreamiest, creamiest cheese sauce. Once the milk is smooth and creamy, stir in the broth and bring it to simmer.
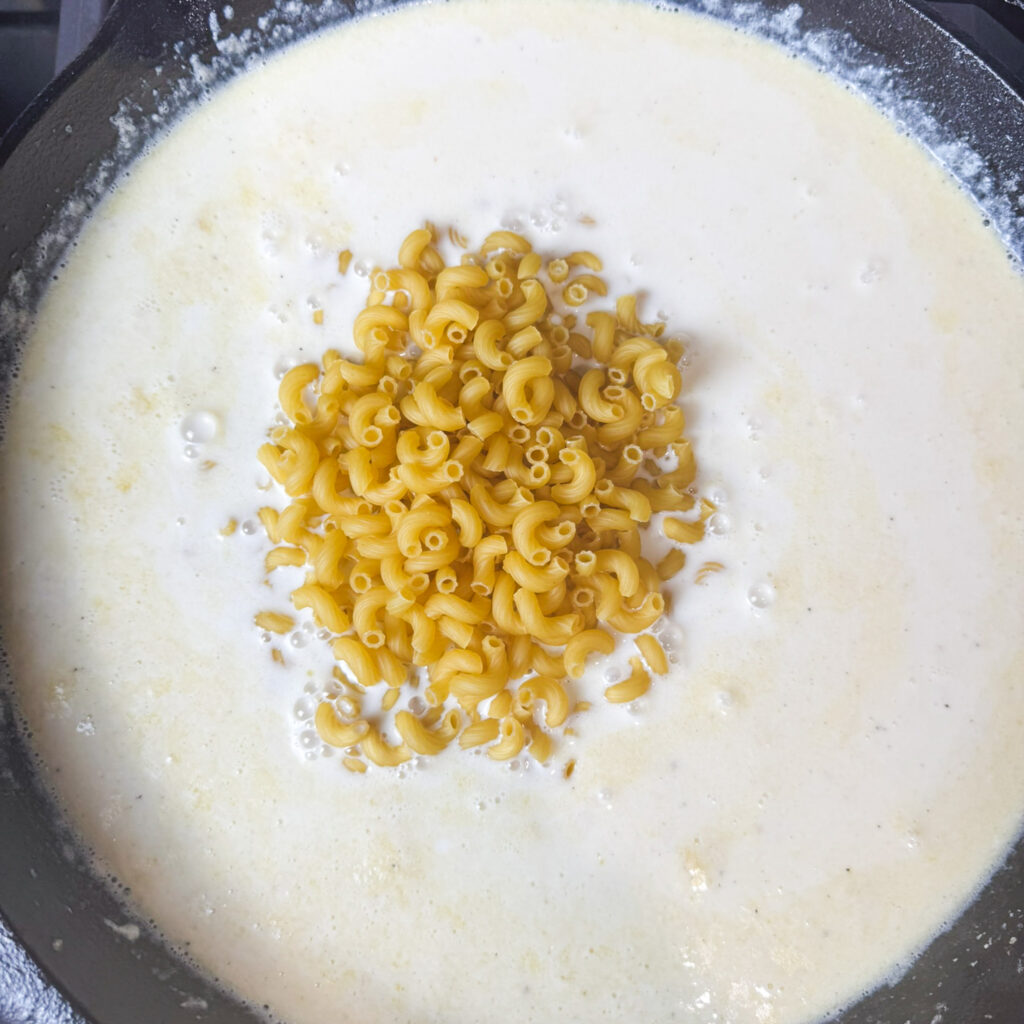
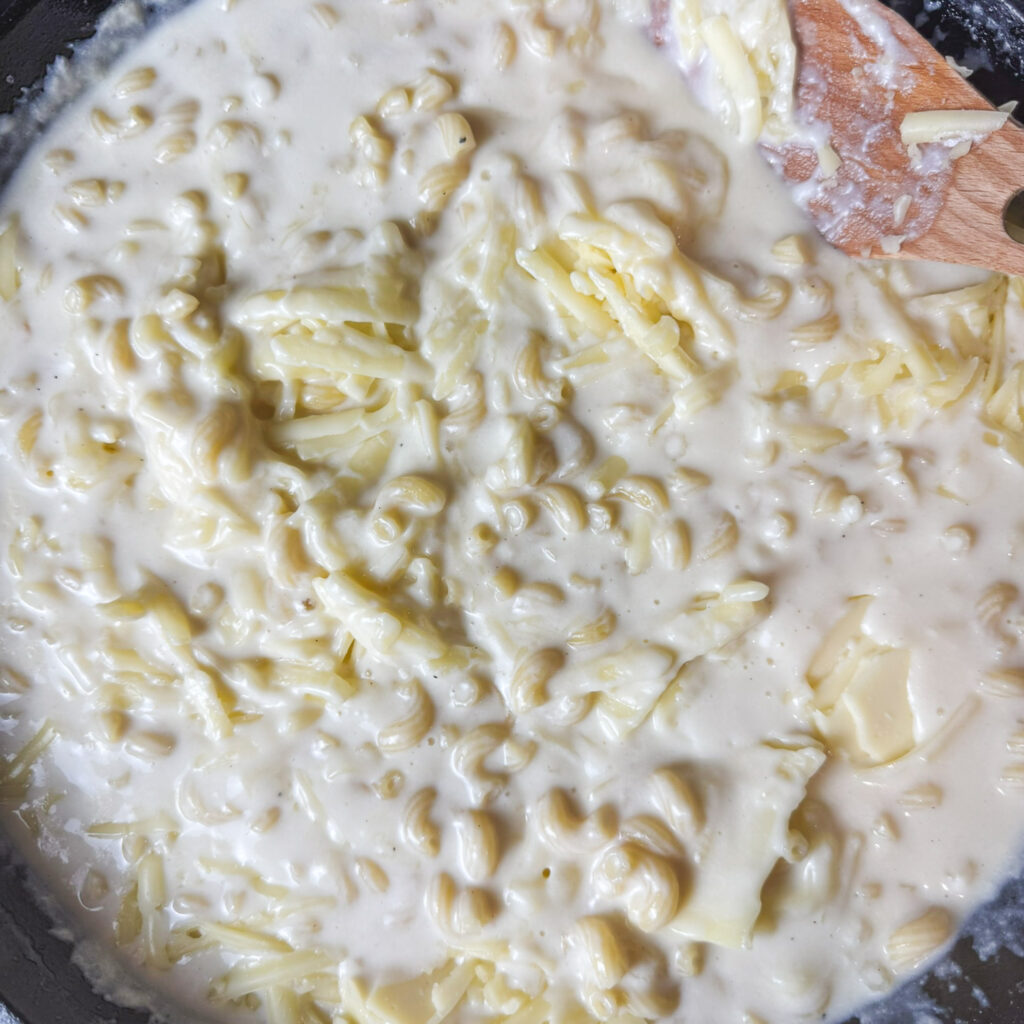
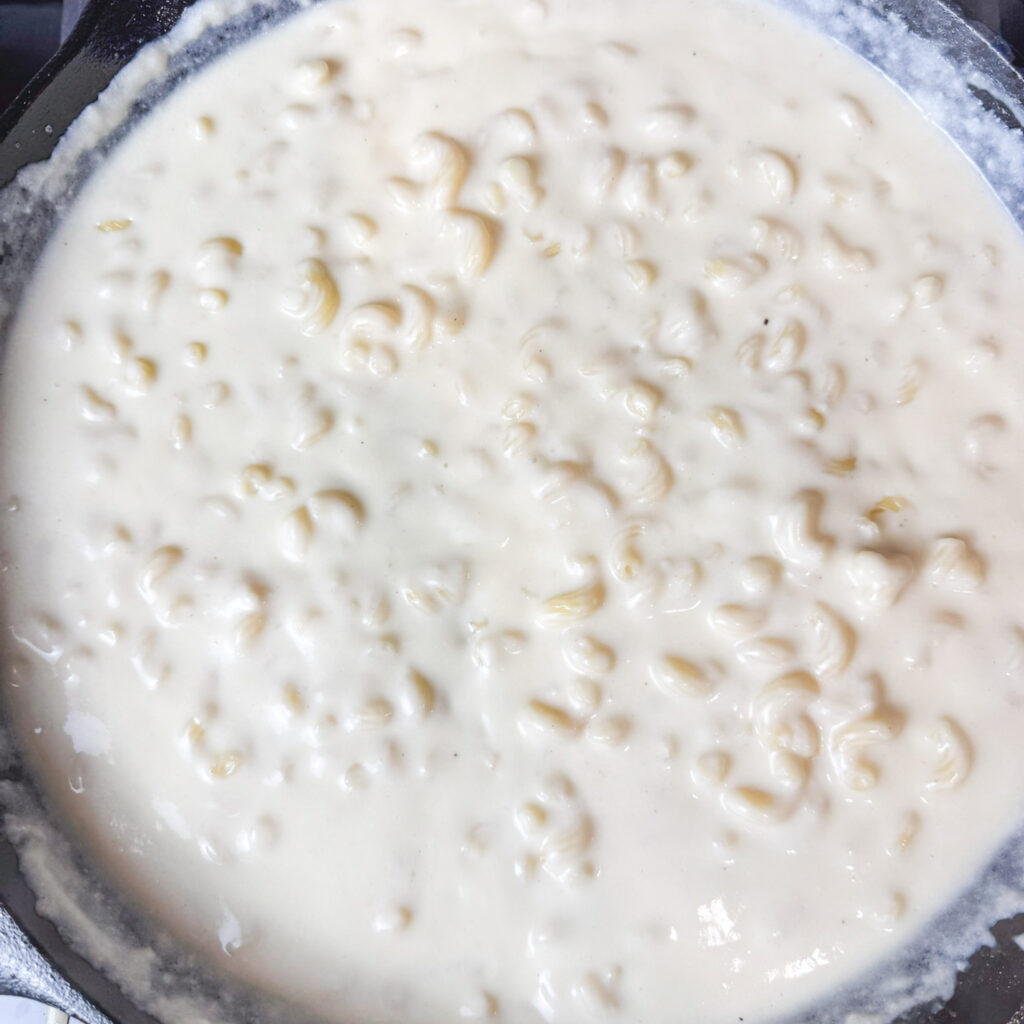
Lastly, we will add the dry pasta and cook it to al dente. Then comes the best part — melting in all that cheese until the sauce turns glossy and irresistible.
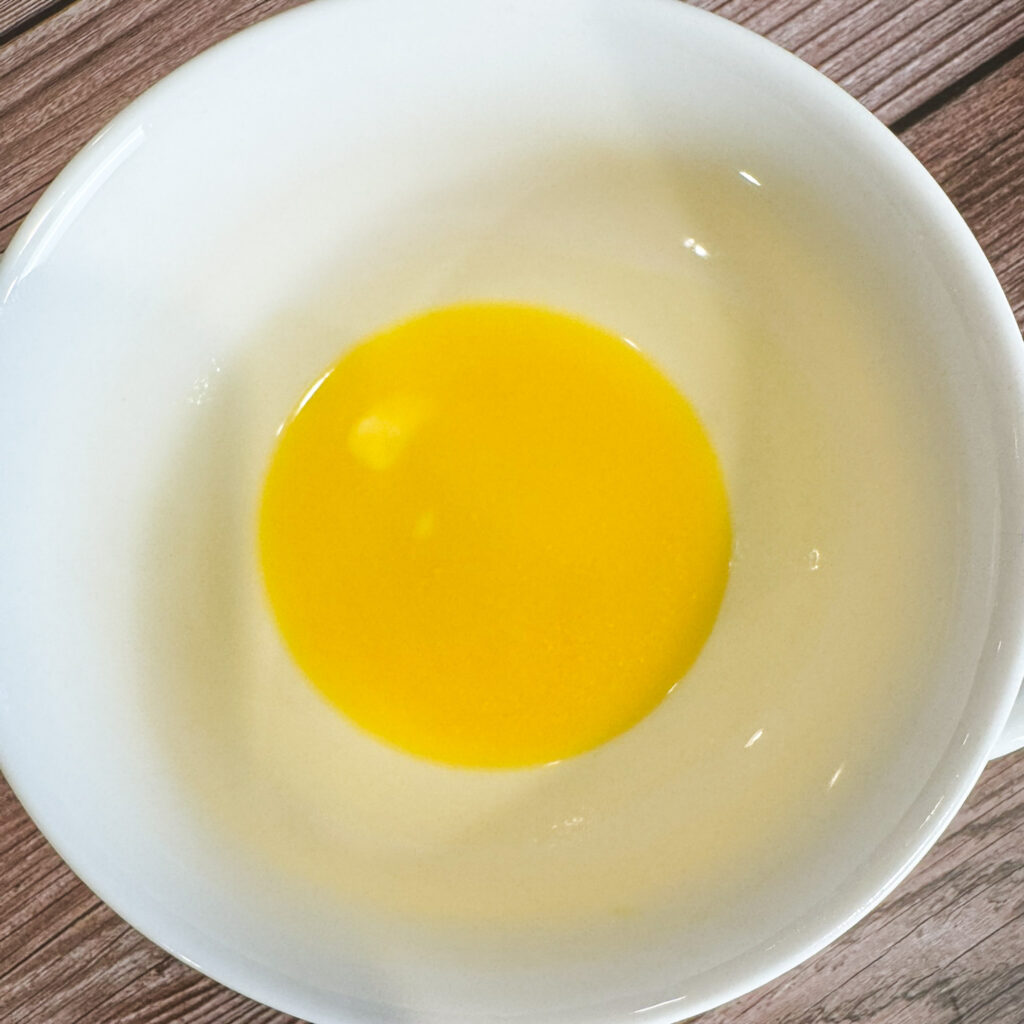
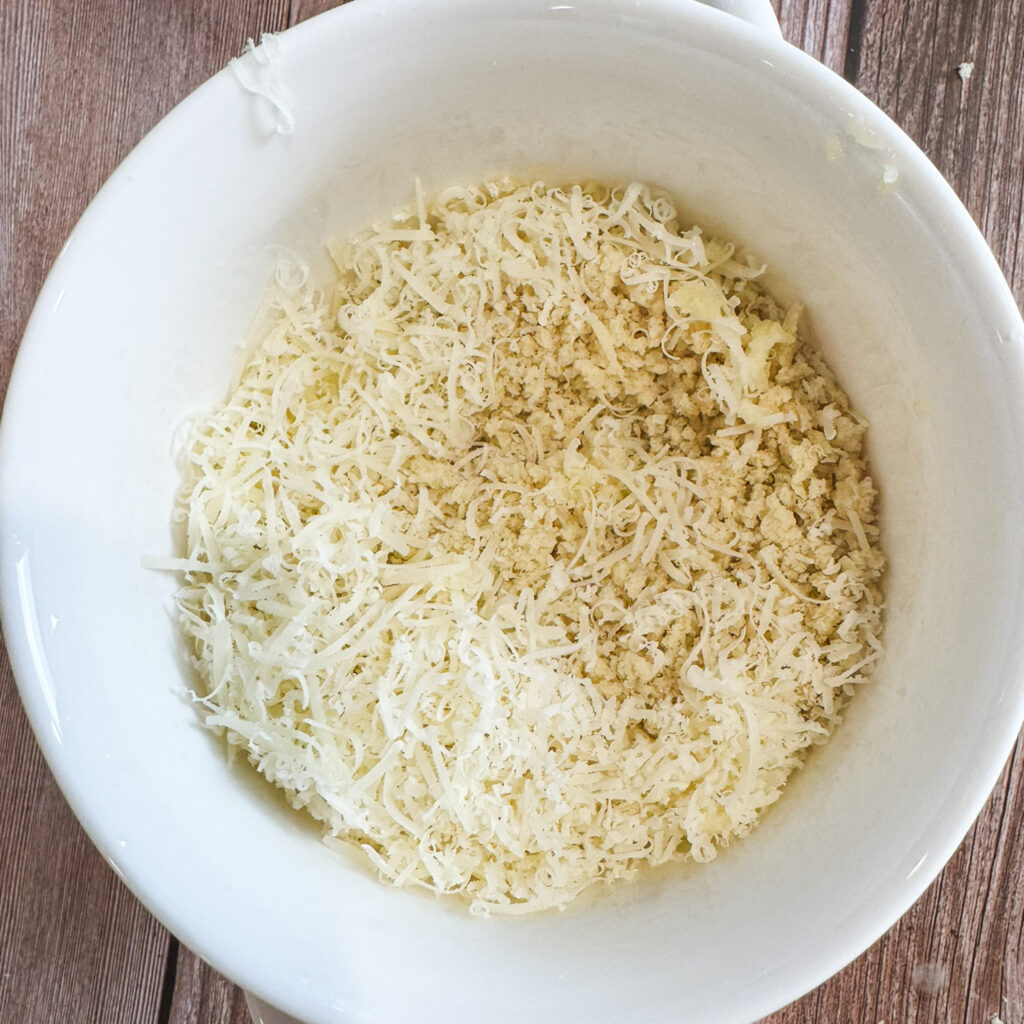
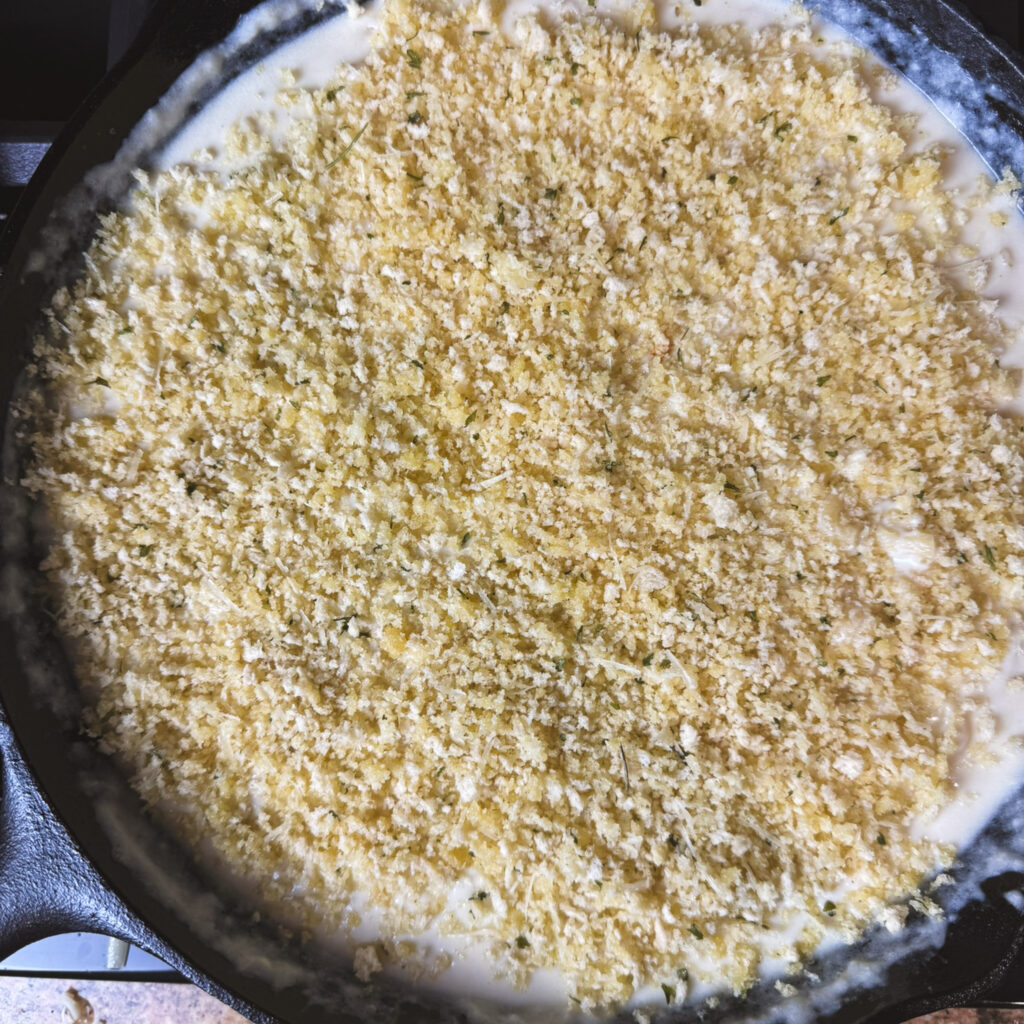
For the finishing touch, mix together panko, parmesan, melted butter, and a little minced garlic until it’s evenly coated and fragrant. Sprinkle the mixture over the mac and cheese right in the cast iron skillet — it creates that crispy, golden blanket that makes every bite irresistible once it comes out of the oven.
Tips
- Shred your own cheese. Pre-shredded cheese is tempting, but it’s coated in anti-caking agents that keep it from melting smoothly. Freshly shredded melts like velvet. If this annoys you, it’s likely time for a new cheese grater. Yes, graters do get dull!
- Don’t rush the roux. Let the butter and flour cook for a minute or two before adding the milk—this takes away that raw flour taste and gives you a silky sauce.
- Use warm milk if you can. Adding cold milk straight to the roux can cause lumps; warming it a bit first helps everything come together easier.
- Go heavy on the sauce. The pasta will absorb some as it bakes, so a little extra sauce upfront guarantees it stays creamy instead of drying out… so resist the urge to add the extra pasta!
- Rest before scooping. Let your mac and cheese sit for 5 minutes after coming out of the oven—it thickens slightly and makes serving cleaner (even if you immediately dig into the corners).
FAQs & Substitutions
Can I make this ahead of time?
Yes! You can assemble the mac and cheese up to the baking step, cover it, and keep it in the fridge for a day. When you’re ready, bake it uncovered until bubbly and golden—just add 5–10 minutes since it’s starting out cold.
What if I don’t have a cast iron skillet?
Any oven-safe skillet or baking dish will do. You’ll just want something that holds heat well so you still get that bubbly, crispy topping.
Can I freeze it?
You can, but honestly, mac and cheese is best fresh. If you do freeze, bake it first, let it cool, then wrap it tightly. Reheat in the oven until warmed through (adding a splash of milk helps bring back the creaminess).
Cheeses to use in cast iron Mac and cheese
Feel free to play around! Gouda or gruyère add depth, pepper jack gives a little kick, and mozzarella adds an extra melty stretch. I’ve even tried adding horseradish cheddar and that was amaaaaazing.
More delicious pasta recipes
If this creamy, garlicky mac and cheese hit the spot, you’ll love these other one-pot pasta favorites — all cozy, flavorful, and perfect for easy weeknights.




Cast Iron Mac and Cheese
Ingredients
Method
- Set your cast iron skillet over medium heat and add 4 tablespoons of butter. Let it melt slowly until it’s completely smooth and starting to foam just a bit. You’re looking for that soft sizzle—not browning—just a glossy, golden pool of butter goodness.
- Sprinkle in 4 tablespoons of all-purpose flour and whisk it right into the melted butter. It’ll form a thick paste (that’s your roux) and start to bubble after a minute or two. Keep whisking for about 3 minutes, until it smells lightly nutty—this cooks off that raw flour flavor and sets you up for the creamiest sauce ever.
- Pour in 1 cup of milk while whisking constantly until the mixture is smooth. Once it thickens a bit, add another cup, whisking as you go, then the last cup. Taking your time here makes the sauce silky instead of clumpy. By the end, you should have a creamy, lump-free base.
- Add in the 2 cups of chicken broth and bring the mixture to a simmer. Once simmering, add in the 8 0z of dry elbow macaroni and let it cook for approximately 7 minutes until al dente. You want to stir the pasta every minute or so to keep it from becoming a sticky mess at the bottom of the pan. Set your oven to the high broil setting.
- While the macaroni is cooking, put 2 tablespoons of butter in a microwave safe bowl to melt – make sure the bowl is large enough to add the panko to afterward. Melt the butter in the microwave, and let it cool for a couple of minutes while you grate the parmesan cheese and mince the garlic.
- Stir 3/4 of panko breadcrumbs into the bowl of melted butter, followed by 1/4 cup of grated parmesan cheese, 1 clove of garlic minced, and 1/2 a teaspoon of dried parsley (the vegetable in this recipe).
- Now back to the main event – turn the heat down to low (no rushing this part!) and add in 1 cup American cheese, 1 cup sharp cheddar, and 1 cup Monterey Jack. Stir slowly as they melt into the sauce, watching it transform into pure creamy perfection. Give it a little taste and season with salt and pepper — this is your moment to adjust the flavor before adding the topping. Turn off the heat.
- Sprinkle the panko topping evenly over the mac and cheese, spreading out carefully. Pop the skillet under the broiler for about 3 minutes, just until the top turns golden brown and crispy. Keep an eye on it — it can go from perfect to “oops” pretty fast. Let it rest for a few minutes (the cheese will be molten-hot!) before digging in. The edges get bubbly, the topping gets crunchy, and the whole thing is just creamy, cozy perfection.


