Pumpkin Whoopie Pies with Cream Cheese Filling
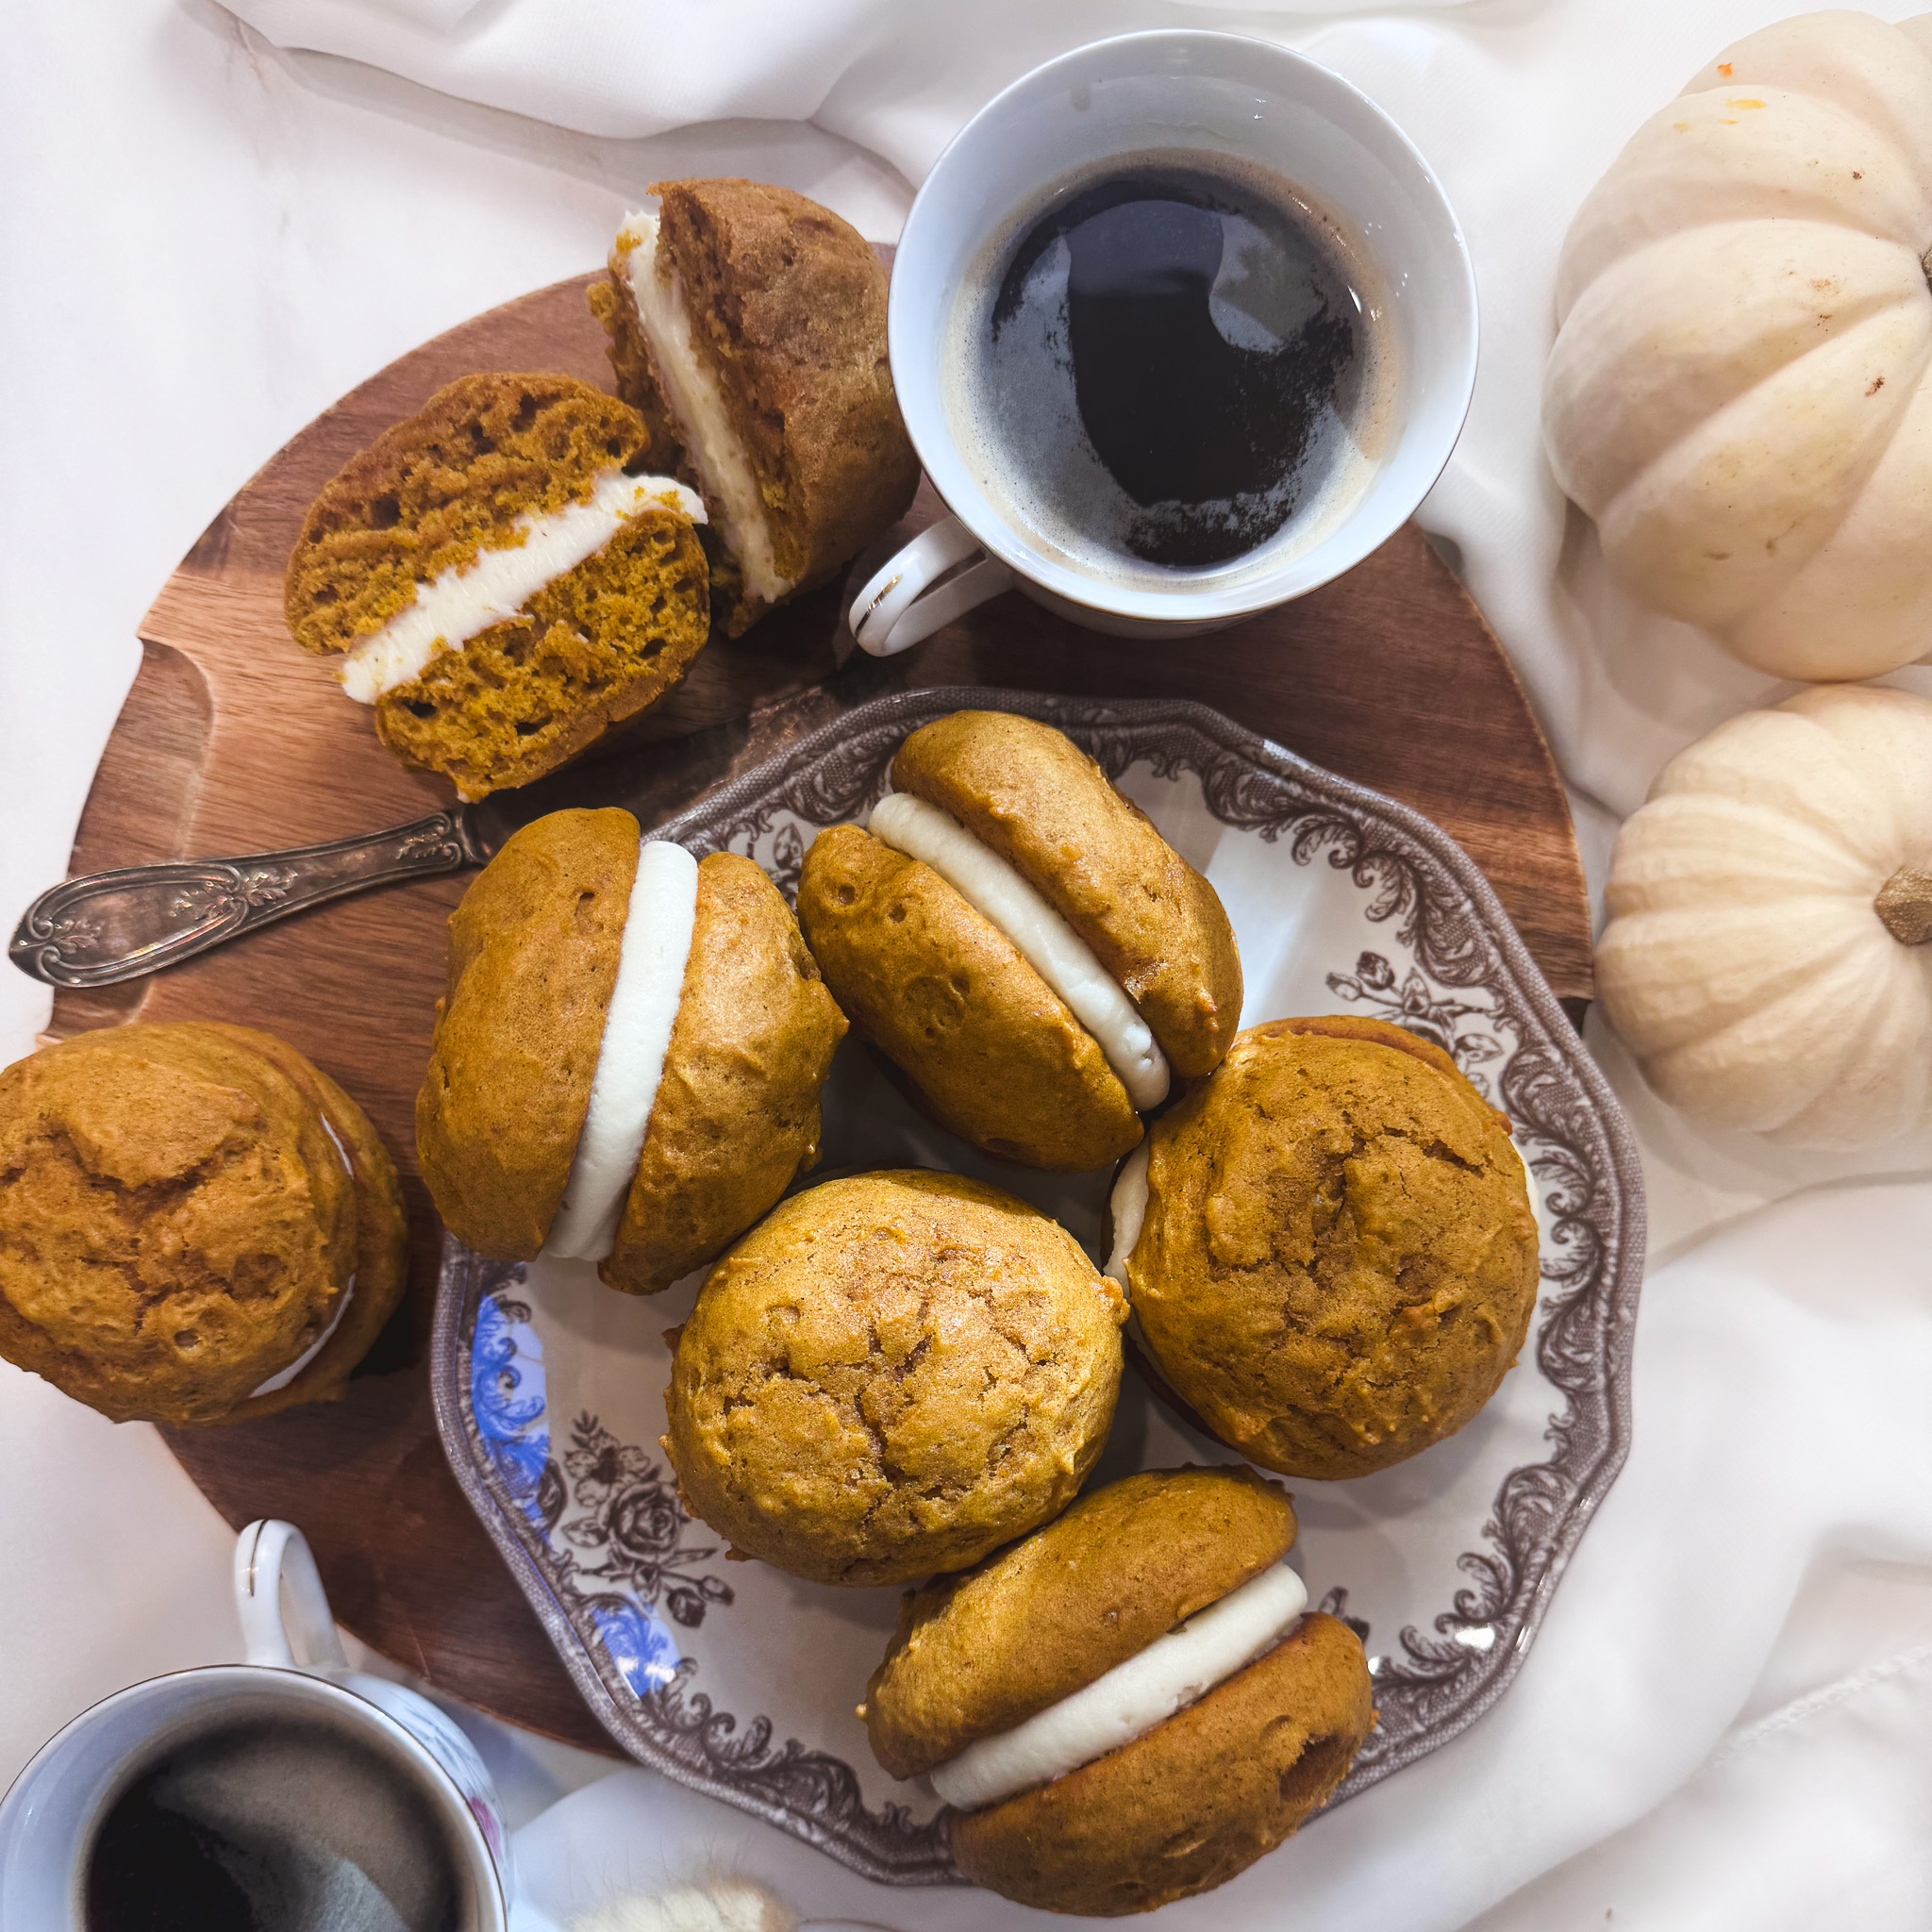
These Maine-style pumpkin whoopie pies are soft, tender, and moist in all the right ways, with a thick layer of rich cream cheese filling sandwiched between two perfectly spiced pumpkin cakes. As a Mainer, I’d call these the perfect pumpkin whoopie pies!
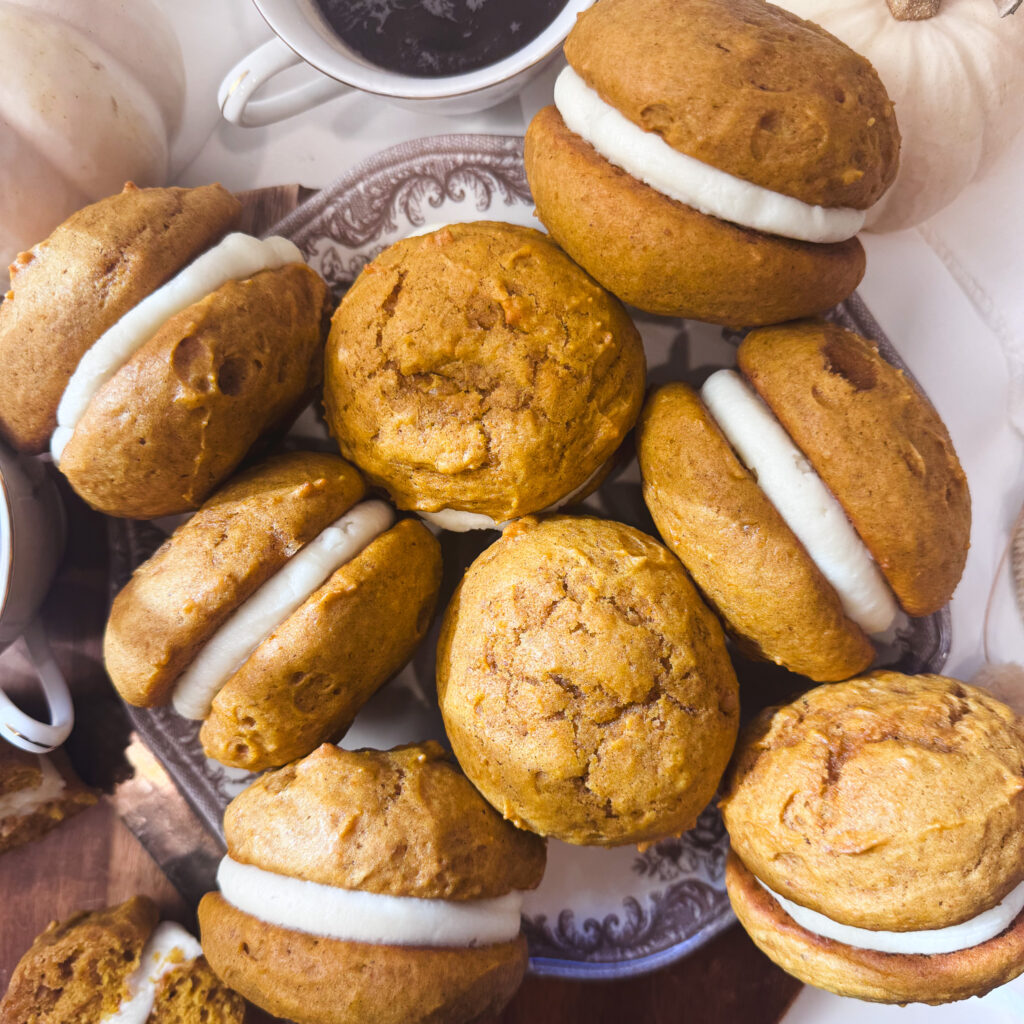
I tested this recipe five times. FIVE TIMES. Nobody was mad about all the taste testing, but I couldn’t stop until I found perfection.
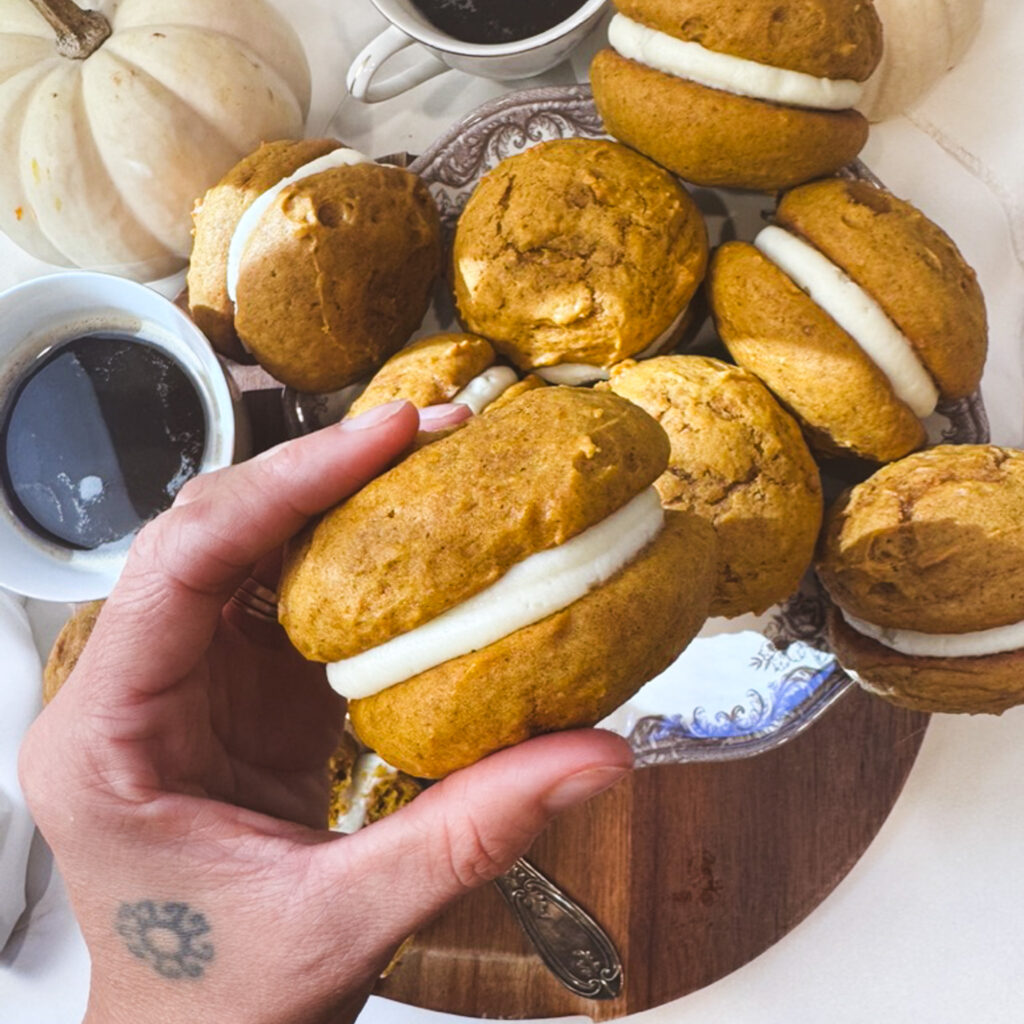
There are so many different styles of whoopie pies, but I knew exactly what I was after. I wanted something similar to my original Bakery-Style Maine Whoopie Pies – cakes that aren’t sticky, with just the right balance of thickness, tenderness, and structure to hold up to a generous layer of filling without falling apart while you’re eating them.
I wanted them to be pumpkin-forward and perfectly moist, but not overly dense. And, et voilà! We’ve arrived. The perfect pumpkin whoopie pie.
What you’ll love about this recipe:
Ingredients You’ll Need
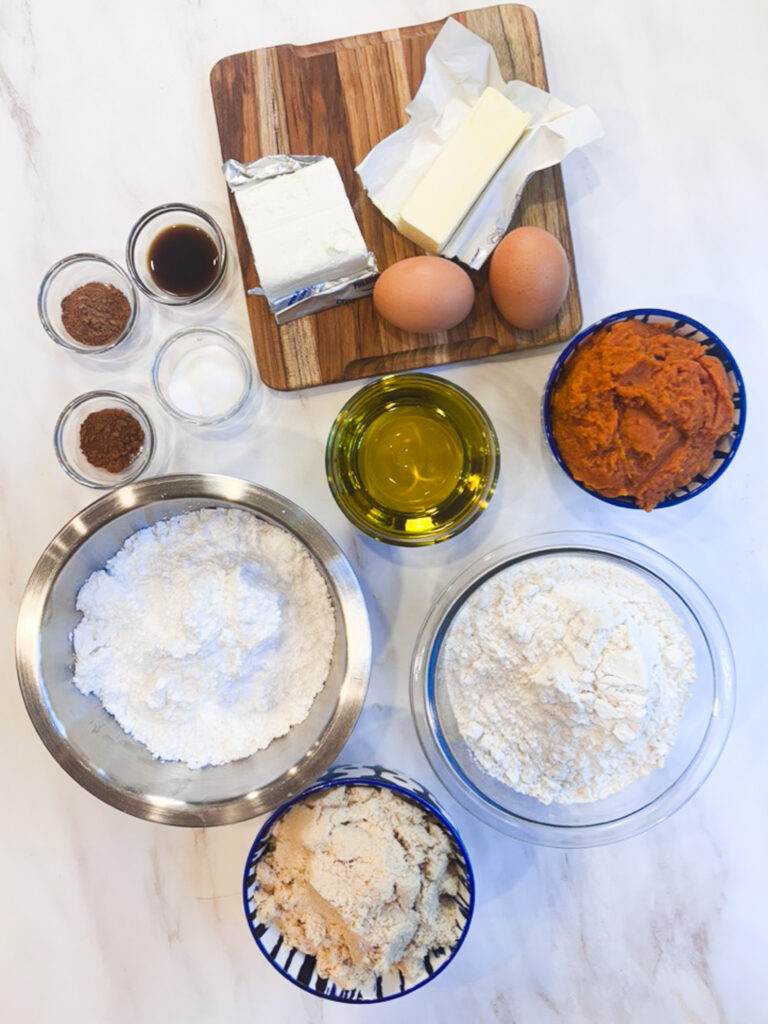
These pumpkin whoopie pies use simple baking staples, with a few key ingredients that make all the difference in achieving that perfectly moist, tender pumpkin cake and thick cream cheese buttercream filling.
For the pumpkin whoopie pie cakes
- Pumpkin purée: One whole can of pure pumpkin purée gives these cakes their beautiful color, moisture, and plenty of pumpkin flavor. Make sure you’re using 100% pure pumpkin, not pumpkin pie filling.
- Avocado oil: I prefer avocado oil for its neutral flavor and the soft, tender texture it gives these cakes. You can substitute another neutral-flavored oil, such as vegetable or canola oil.
- Light brown sugar: Using all light brown sugar adds a subtle molasses flavor and helps keep the cakes wonderfully moist and tender. I tested different combinations of brown and granulated sugar before settling on this one.
- Eggs: Help bind the ingredients together and give the pumpkin cakes structure so they hold up beautifully when sandwiched with filling.
- Vanilla extract: Adds a little warmth and rounds out the pumpkin and spice flavors.
- All-purpose flour: Provides the structure these cakes need without making them overly dense. Be sure to measure your flour properly, preferably using the spoon-and-level method.
- Pumpkin pie spice & cinnamon: A combination of warm fall spices that complements the pumpkin without overpowering it. I intentionally kept the spice blend a little more subtle so the pumpkin flavor could shine.
- Baking powder & baking soda: Work together to give the cakes lift and help create that tender, cake-like texture.
- Salt: Balances the sweetness and brings out all those warm pumpkin flavors.
For the cream cheese buttercream filling
- Unsalted butter: The buttery base of our filling! Use softened butter that’s still slightly cool to the touch, not melted or overly warm.
- Cream cheese: Use full-fat brick-style cream cheese for the best flavor and consistency. Avoid whipped or spreadable cream cheese, which can make the filling too soft.
- Powdered sugar: Sweetens and thickens the buttercream, giving it enough structure to hold a generous layer between the pumpkin cakes.
- Vanilla extract: Adds a subtle sweetness and warmth to the filling.
- Salt: Just a pinch balances the sweetness of the buttercream and enhances the cream cheese flavor.
How to make pumpkin whoopie pies
Make the pumpkin whoopie pie batter
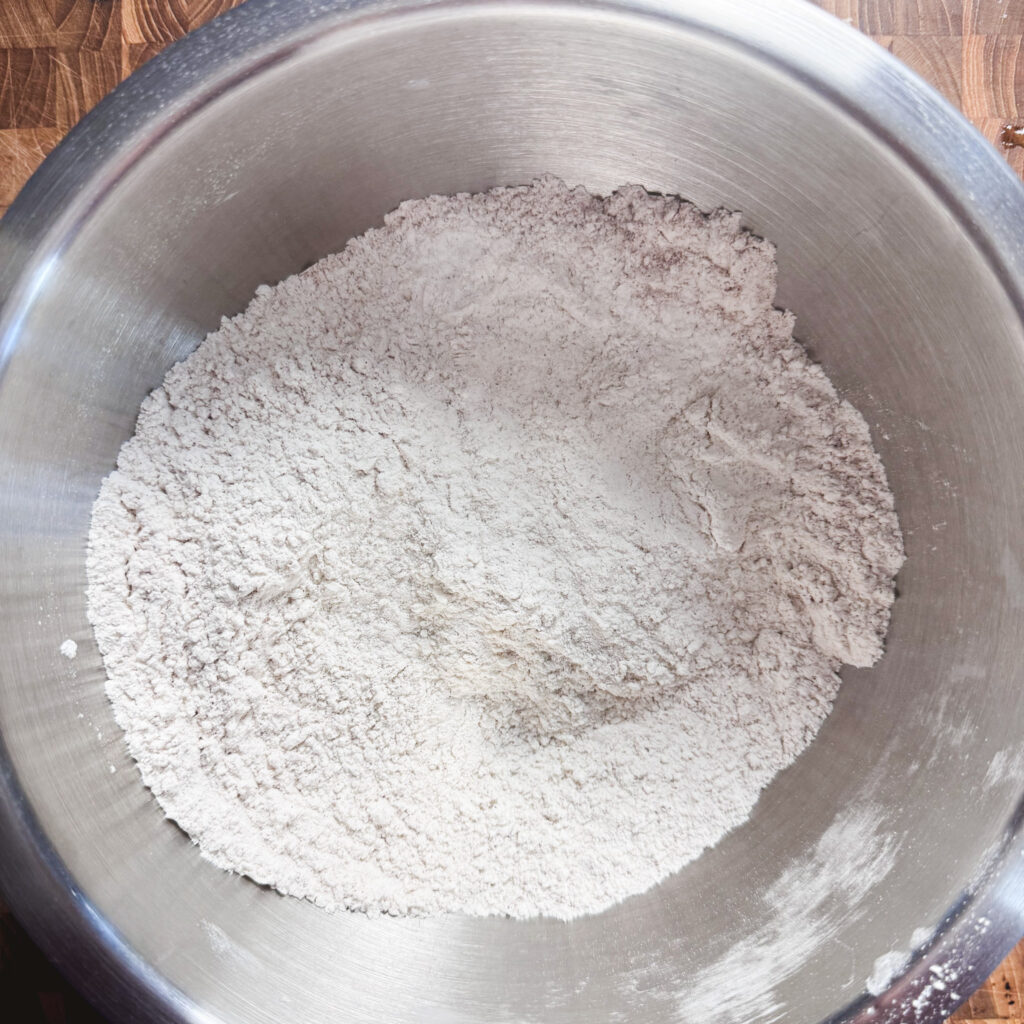
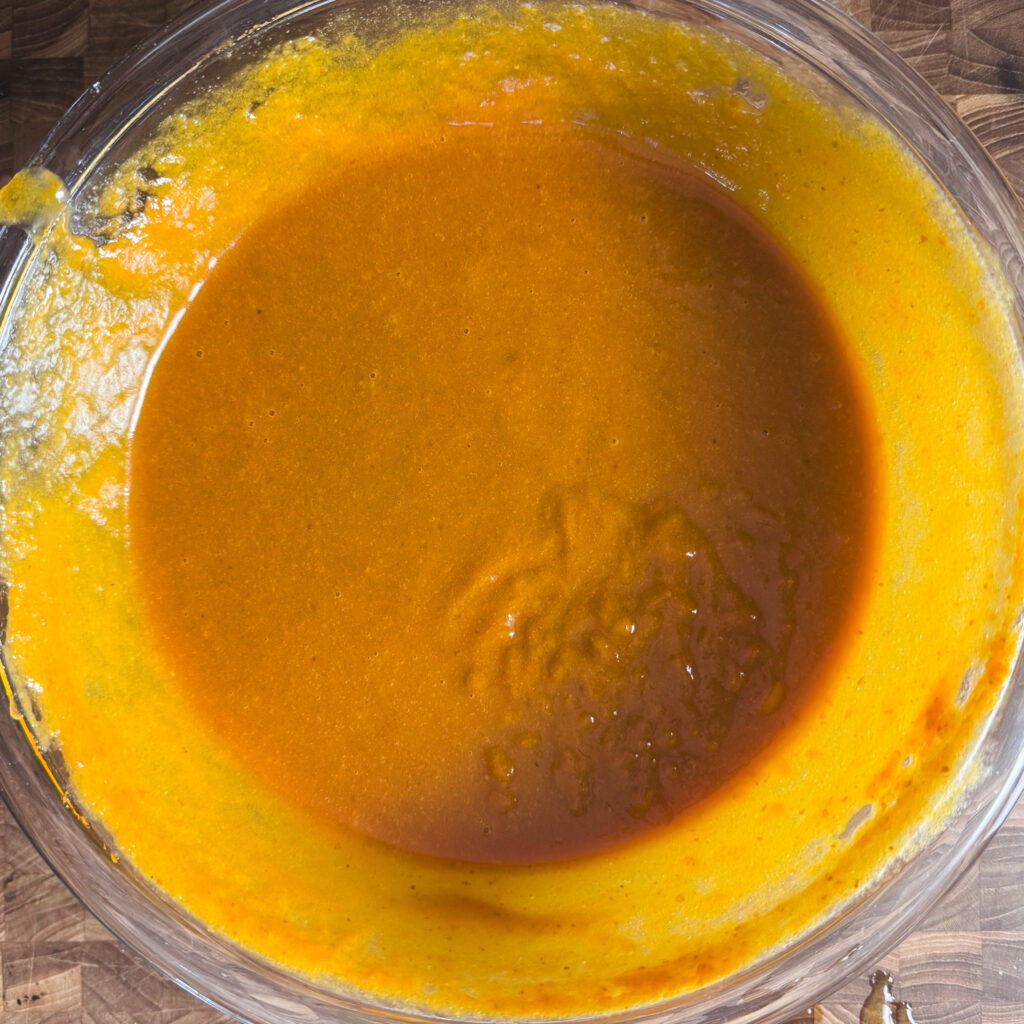
In a large bowl, whisk together the flour, pumpkin pie spice, cinnamon, baking powder, baking soda, and salt. In a separate bowl, whisk together the eggs, brown sugar, avocado oil, pumpkin purée, and vanilla until smooth.
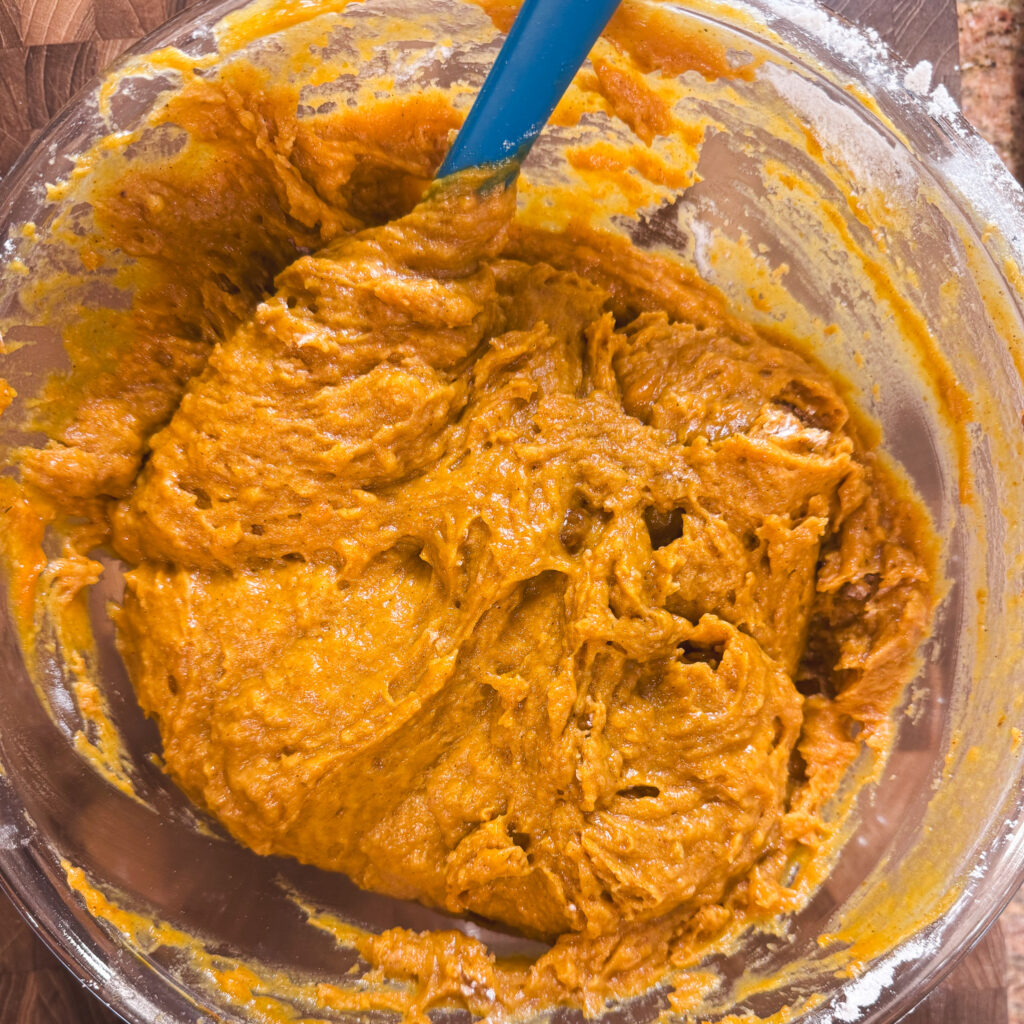
Gently fold the dry ingredients into the wet ingredients until just combined, being careful not to overmix. Let the batter rest for 10 minutes before baking – this is key!
Bake, fill, assemble
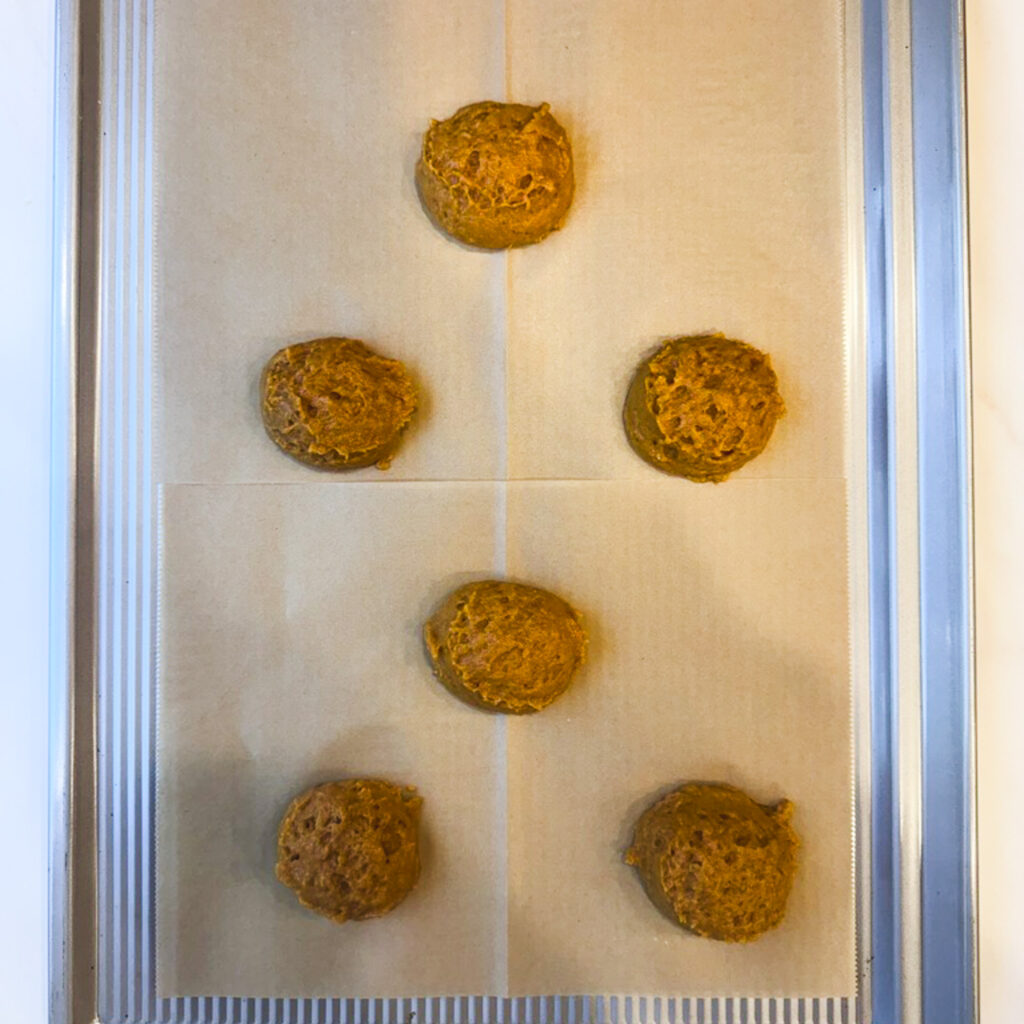
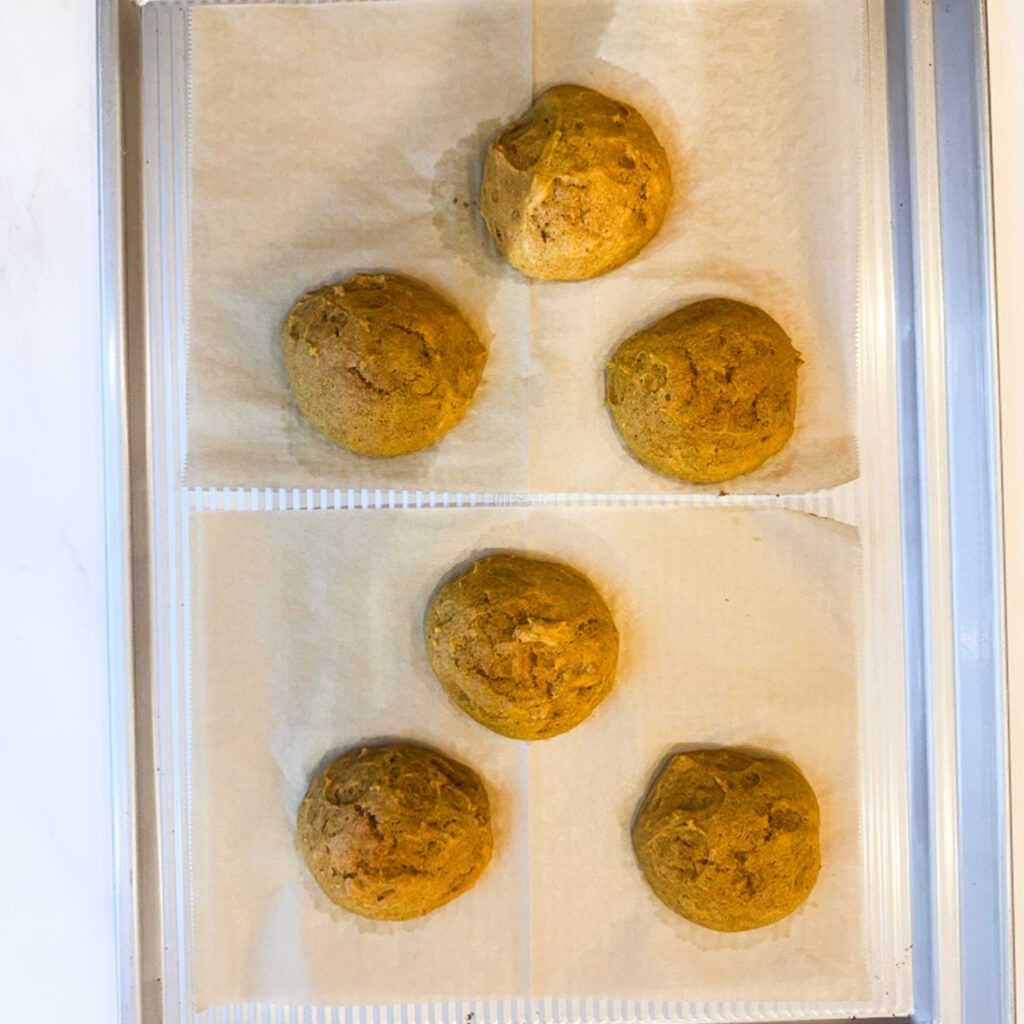
Using a cookie scoop, portion the batter onto parchment-lined baking sheets, leaving about 2 inches between each mound. Bake at 350°F for approximately 13 minutes, until the tops are set and spring back lightly when touched. Let the cakes cool completely.
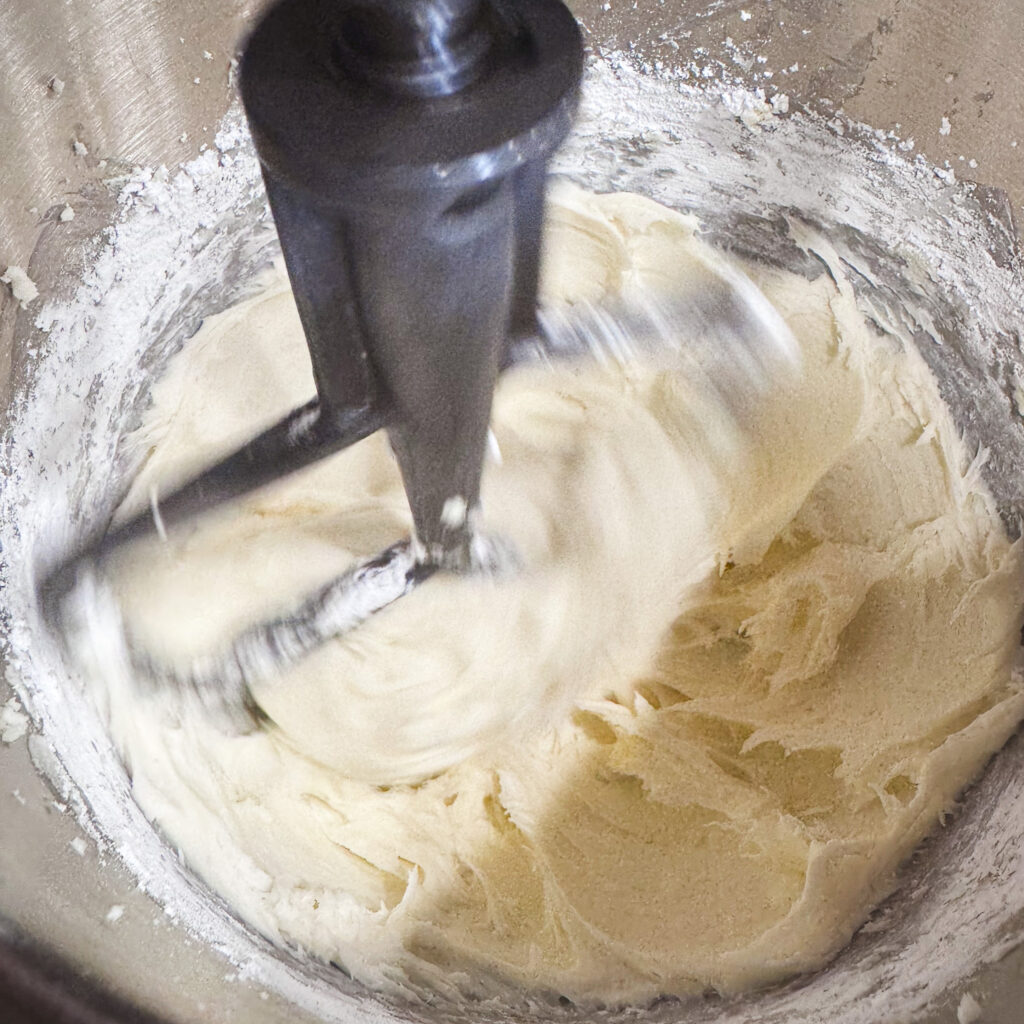
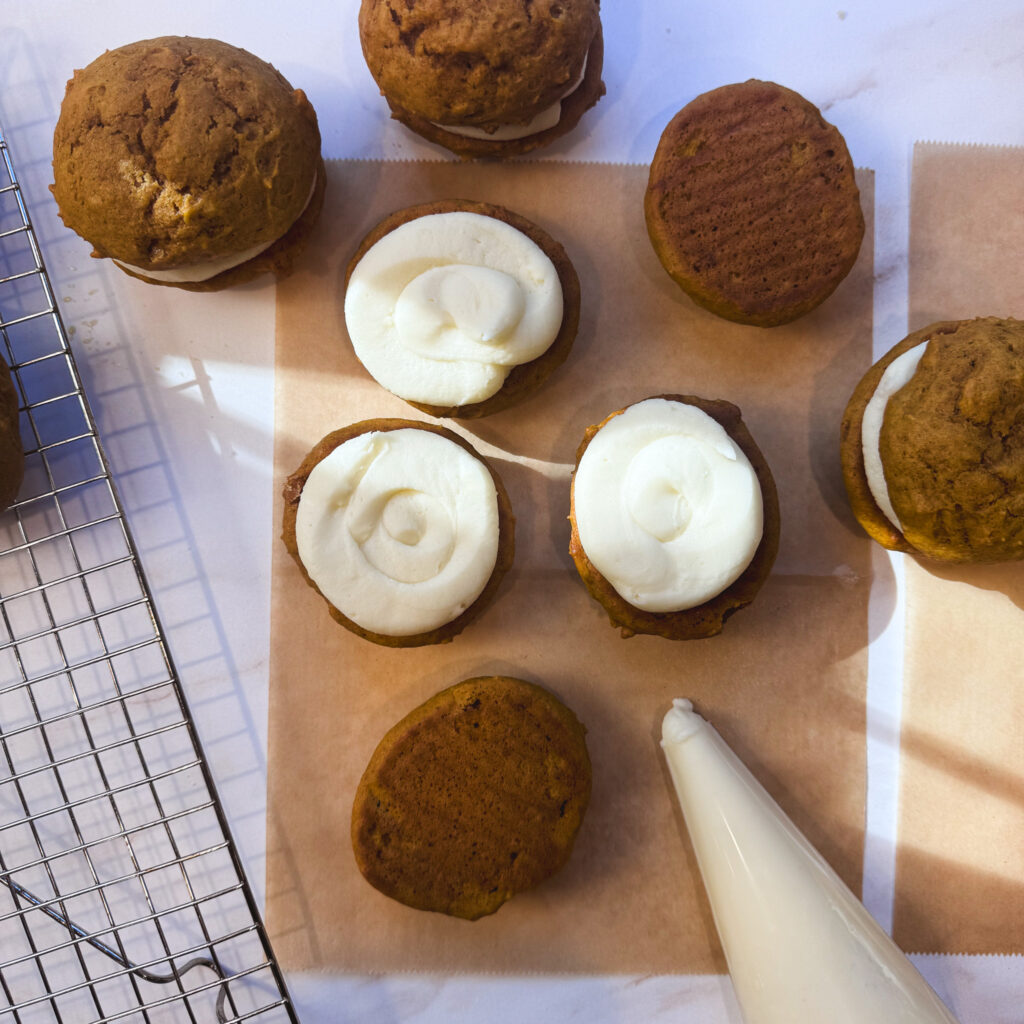
Meanwhile, beat the softened butter and cream cheese together until smooth, then gradually mix in the powdered sugar, vanilla, and salt until thick and creamy. Pipe a generous layer of filling onto the flat side of half the cakes, sandwich with the remaining cakes, and refrigerate for at least 30 minutes to set the filling.
Serving ideas for pumpkin whoopie pies
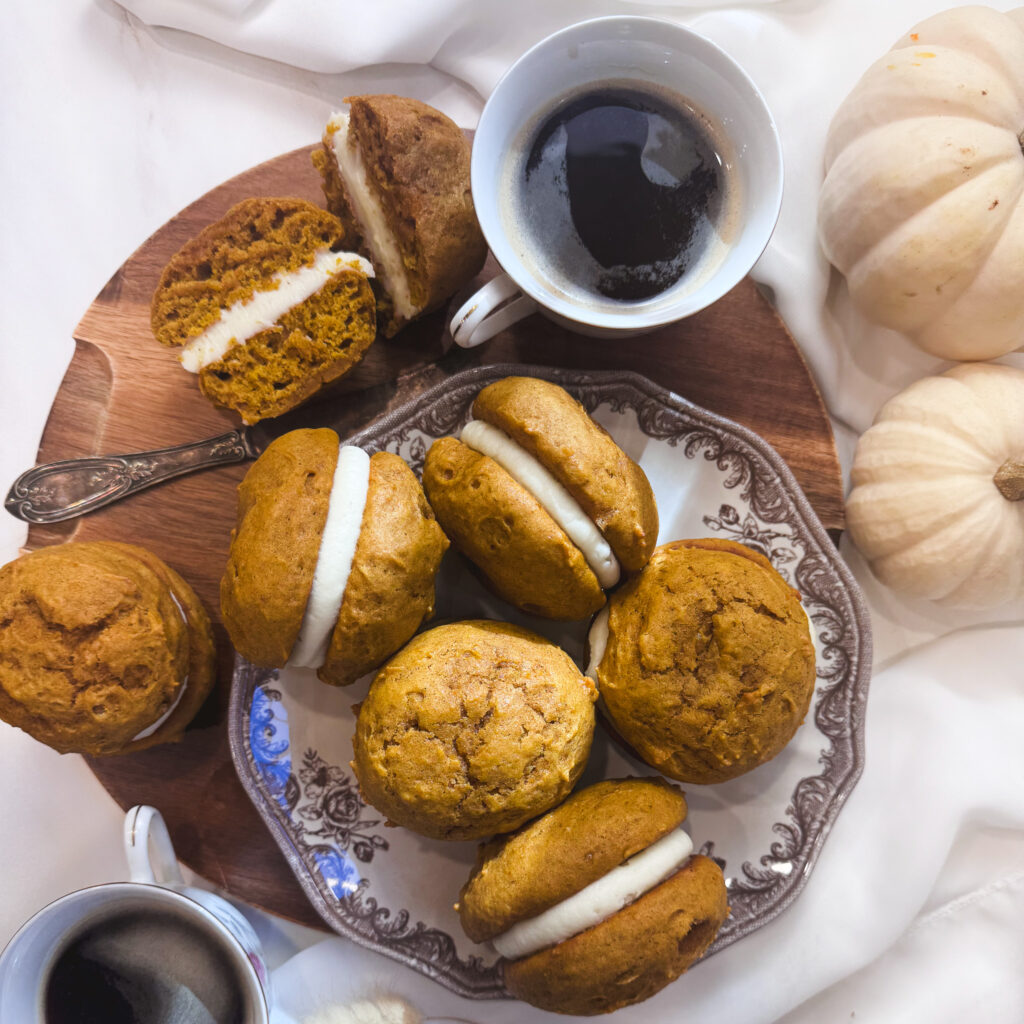
These whoopie pies are so perfect for the holidays because you can make ahead and if stored properly they stay moist for days! (see FAQ section on storing). I’ve made these whoopie pies for birthday parties, Thanksgiving, Christmas cookie platters, and they’re even common for wedding desserts! Mini whoopie pies are the perfect size for platters and super cute for sharing.
If someone is asking me to bring my favorite sweet treat, its these pumpkin whoopie pies, oatmeal cream pies with marshmallow filling, or Bakery-Style Maine Whoopie Pies – because they all travel well!

Tips & Tricks
- Don’t overmix the frosting. Once the cream cheese buttercream is smooth and creamy, stop mixing! Overbeating can soften the cream cheese and loosen the frosting, making it harder to pipe and less likely to hold its shape between the pumpkin cakes. We want a thick, sturdy filling that stays put with every bite.
- Let the batter rest. This was a game changer during my recipe testing! Allowing the batter to rest for 10 minutes gives the flour time to absorb moisture and the batter a chance to thicken, helping the pumpkin cakes rise into thick, beautiful little domes instead of spreading into flat cookies. Don’t skip this step!
- Use a cookie scoop. or a large ice cream scoop – this is the easiest way to get evenly sized pumpkin cakes that bake at the same rate and fit together perfectly when it’s time to assemble. Keep the batter mounded and resist the urge to flatten it! This is the one I use.
- Don’t underbake the cakes. The cakes are ready when the tops are set and spring back lightly when touched. You don’t want sticky cakes.
FAQs & Substitutions
How to store pumpkin whoopie pies
Store in an air tight container in the refrigerator for up to four days – or, if you have the time, I wrap each one in plastic wrap for I find to be the ultimate way of locking in freshness.
Can I freeze pumpkin whoopie pies?
Yes! Wrap each assembled whoopie pie individually in plastic wrap and place them in a freezer-safe container or zip-top bag. Freeze for up to 3 months, then thaw overnight in the refrigerator.
Can I make this with granulated sugar instead brown sugar?
The cakes will spread more with granulated sugar. I recommend using brown sugar only for this recipe.
Why did my pumpkin cakes turn out flat?
A few things can cause pumpkin whoopie pies to spread too much, including incorrectly measured flour, overly wet batter, or skipping the resting time. During my recipe testing, I found that allowing the batter to rest for 10 minutes made a noticeable difference in helping the cakes hold their shape. Also, make sure your baking sheets are cool before scooping on another batch!
Can I use homemade pumpkin purée?
Because textures and wetness can vary, I recommend using canned pumpkin for this recipe.
Can I use vegetable oil instead of avocado oil?
Yes! I love avocado oil because it’s neutral in flavor and its a healthier option, but vegetable oil or canola oil will work just as well. Use the same amount called for in the recipe.



Pumpkin Whoopie Pies with Cream Cheese Filling
Ingredients
Method
- Combine the wet ingredients. In a large mixing bowl, whisk together 2 large eggs, 2 cups packed light brown sugar, ¾ cup avocado oil, 1¾ cups pumpkin purée, and 2 teaspoons vanilla extract until smooth and well combined.
- Combine the dry ingredients. In a separate bowl, whisk together 3 cups all-purpose flour, 2 teaspoons pumpkin pie spice, 1 teaspoon cinnamon, 1 teaspoon baking powder, 1 teaspoon baking soda, and 1 teaspoon salt.
- Make the batter. Gradually fold the dry ingredients into the wet ingredients using a rubber spatula. Mix just until no dry streaks of flour remain. Avoid overmixing.
- Rest the batter. Allow the batter to rest at room temperature for 10 minutes to give the flour time to hydrate and the batter a chance to thicken slightly.
- Scoop the cakes. Using a cookie scoop, portion the batter onto the prepared baking sheets, leaving approximately 2 inches between each mound. Keep the scoops rounded and do not flatten them.
- Bake. Bake at 350°F for approximately 13 minutes, or until the tops appear set and spring back lightly when touched. A toothpick inserted into the center should come out clean or with a few moist crumbs.
- Cool completely. Allow the cakes to cool on the baking sheets for 5 minutes before transferring them to a wire rack. Cool completely before adding the filling.
- Cream the butter and cream cheese. In a medium mixing bowl, beat ½ cup (8 tablespoons) softened unsalted butter and 4 oz full-fat brick cream cheese together until smooth and creamy, about 1 minute.
- Add the powdered sugar. Gradually add 3 cups powdered sugar, mixing on low speed until incorporated. Scrape down the sides of the bowl as needed.
- Finish the filling. Add ½ teaspoon vanilla extract and ⅛ teaspoon salt. Beat briefly until the buttercream is smooth, thick, and creamy. Avoid overbeating.
- Fill the cakes. Match the cooled pumpkin cakes into similarly sized pairs. Pipe or spread a generous layer of cream cheese buttercream onto the flat side of one cake, then gently sandwich with another.
- Refrigerate. Place the assembled whoopie pies in the refrigerator for at least 30 minutes to allow the filling to firm up before serving.
- Store in the refrigerator.